We’ve all been there – riding high on the purchase of a new pair of pants, only to realize that we have to spend more money and continue to wait before we can wear them. While it’s true that a good tailor is an essential resource for having well-fitting tailored clothing, there are some things that are simple to you yourself. None are easier than the humble hem – a half hour of your time and a few household tools is all that you need. As an avid do-it-yourself-er, I’ve been hemming my pants for a while now and find it to be a relatively simple and highly satisfying task.
What we’re discussing here is called a blind hem, where the stitching is nearly invisible. This won’t work for things like jeans, where you want the hem to be visible – you’ll need a machine for that. But this works great for things like chinos and dress pants, where you want the hem to be clean. I’m using a pair of Lost Monarch chinos here (now in stock!), which come at 35″. On heavier, coarser fabrics (like this cotton twill) the stitching will be slightly visible, but on fine woolens they will be almost impossible to see if you do a good job.
Ready? Here we go.
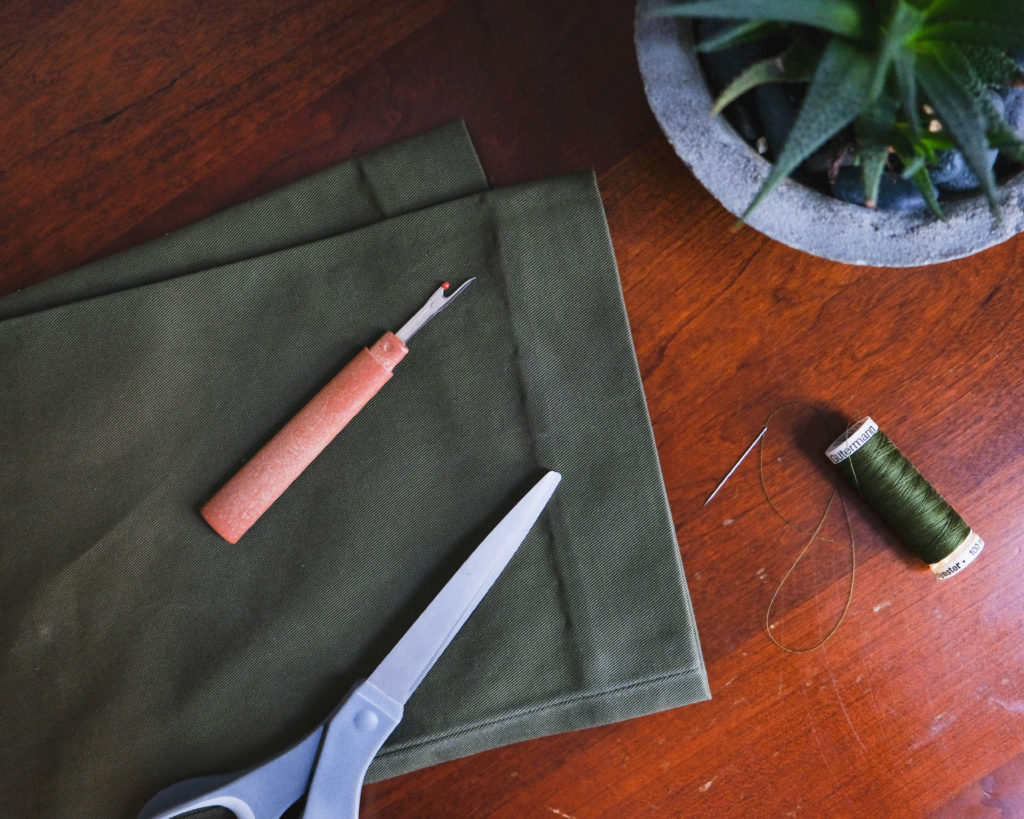
What You’ll Need:
- too-long pants
- needle
- thread (similar color to pants)
- pins
- pencil (or chalk)
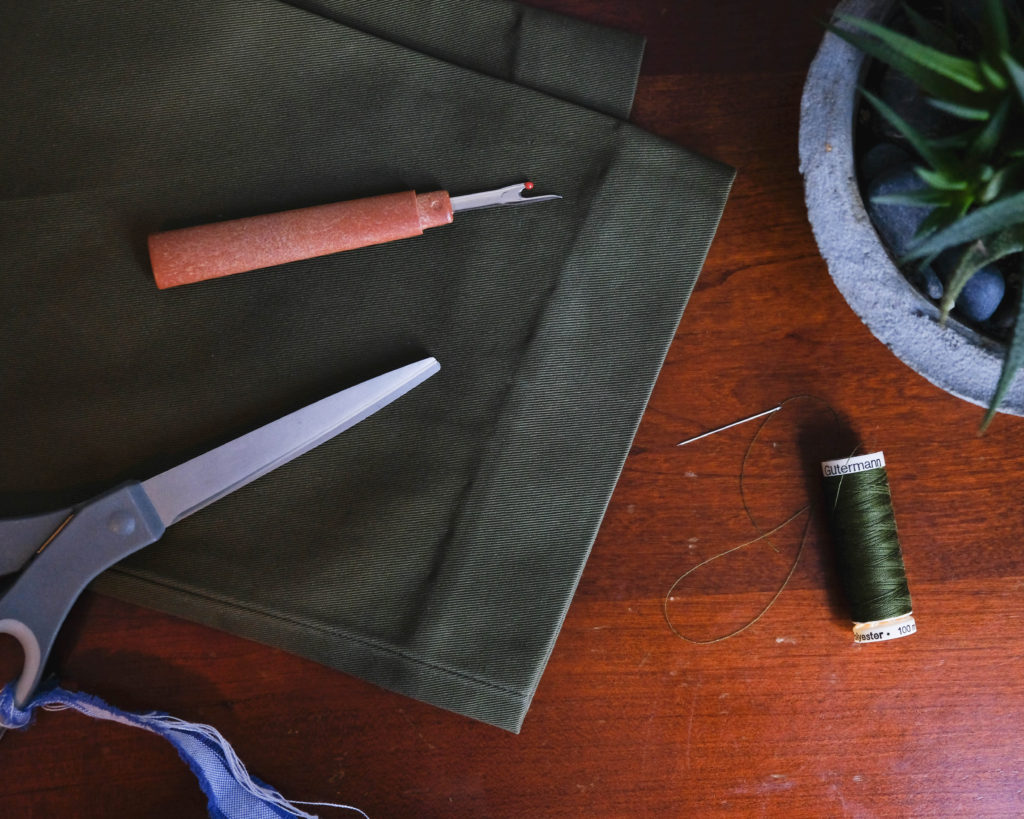
- seam ripper
- scissors
- iron
- ruler or measuring tape
Step 1: Find Your Hem
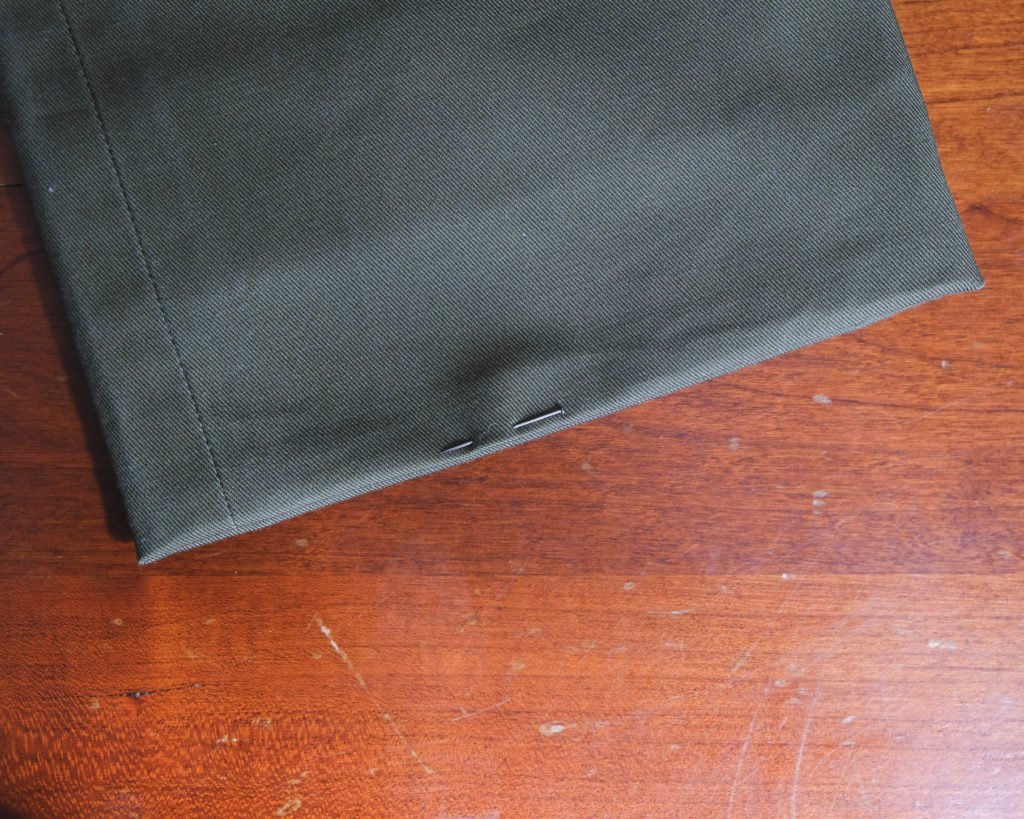
First we need to decide where we’re going to hem these pants. If you’re planning on hemming a pair of machine-washable trousers (like these) I’d recommend washing them first so that any shrinkage is removed. Once you’re ready, put them on and fold them inwards until you find the length you like (or better yet, have someone else help you so you can stand straight). Put a pin in the bottom of the fold to hold everything in place. You can also measure the hem length on a pair of pants that you already like, but note that this isn’t always going to be a good reference if the rise of the two pairs fit differently.
Step 2: Prep Your Pants
Once you have your hem pinned, turn the pants inside-out and fold both legs up at your hem mark. Make sure that the hem is even across the full leg opening. For example, I was removing 3 5/8″ of fabric, so I measured that all along both legs to make sure that the hem was straight.
Once you have your new hem spot evenly folded on both legs, give them a good iron to set in the crease. You can then unfold them and use the seam ripper to open up the existing hem stitching (if you’re taking enough off this may not be necessary, but it’s helpful even if just to have the pants lay flat).
Step 3: Mark and Cut
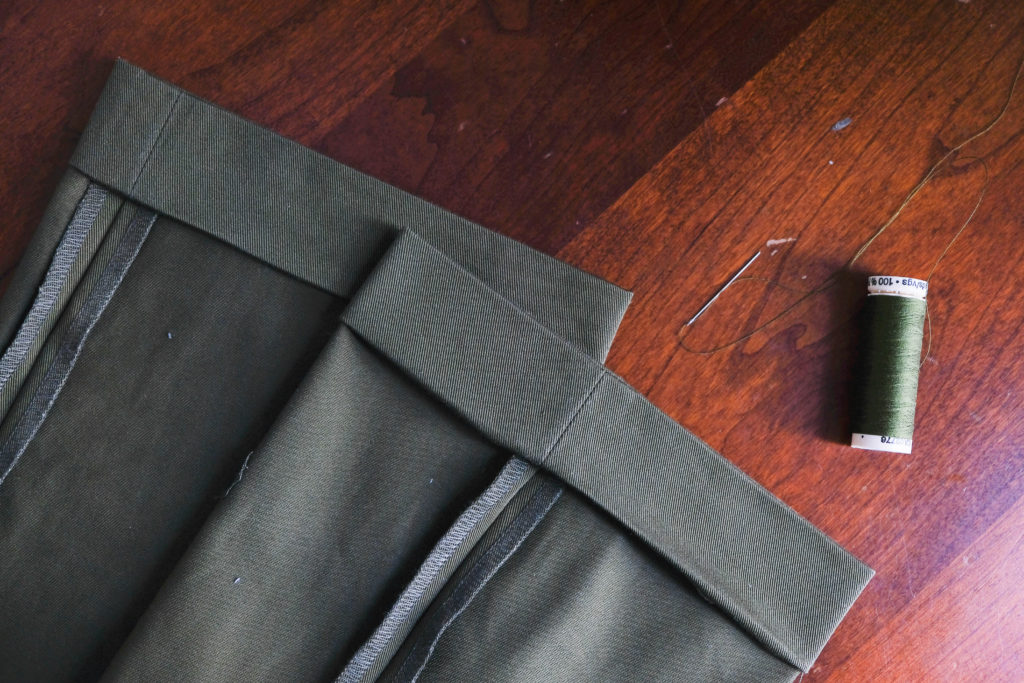
Now it’s time to make some decisions. It’s standard to leave 1 1/2 -2″ of fabric beyond the hem so that everything hangs cleanly (and so that you can lengthen the pants later if needed). I opted for 1 1/2″ and marked this with a pencil and ruler, again making sure that I was accurately measuring all the way across the pant leg. You could also use tailor’s chalk or some machine-washable tool to mark this, but it won’t show anyway so I didn’t really care.
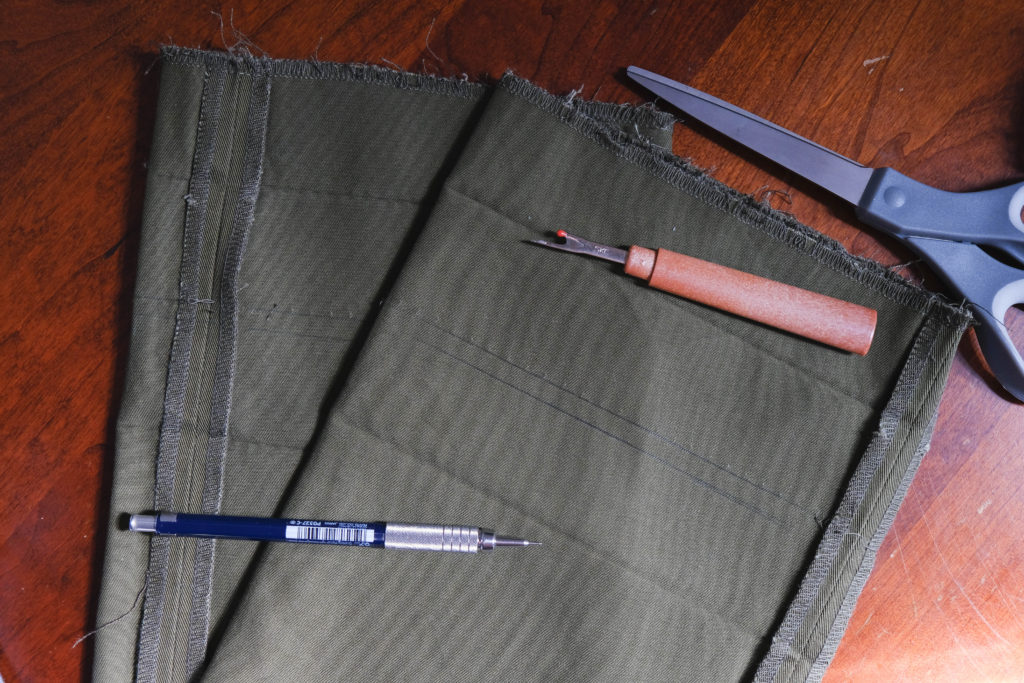
Next, add 1/4″ to the length that you marked. This will create our seam allowance, which will keep the raw fabric edge from showing and also will help us make the seam invisible. Pretty slick. So from bottom to top in the picture above, you’ll see my new hem location ironed in, the 1 1/2″ of fabric, the 1/4″ of seam allowance, the original hem, and the original raw edge (that I had to open with the seam ripper).
Once you’re confident that everything looks good, go ahead and cut at the edge of the seam allowance. It can be scary to take scissors to your expensive clothing, but remember that the place you’re cutting won’t even be visible once you’re done. Just make sure that all your measurements are correct before slicing into your nice stuff.
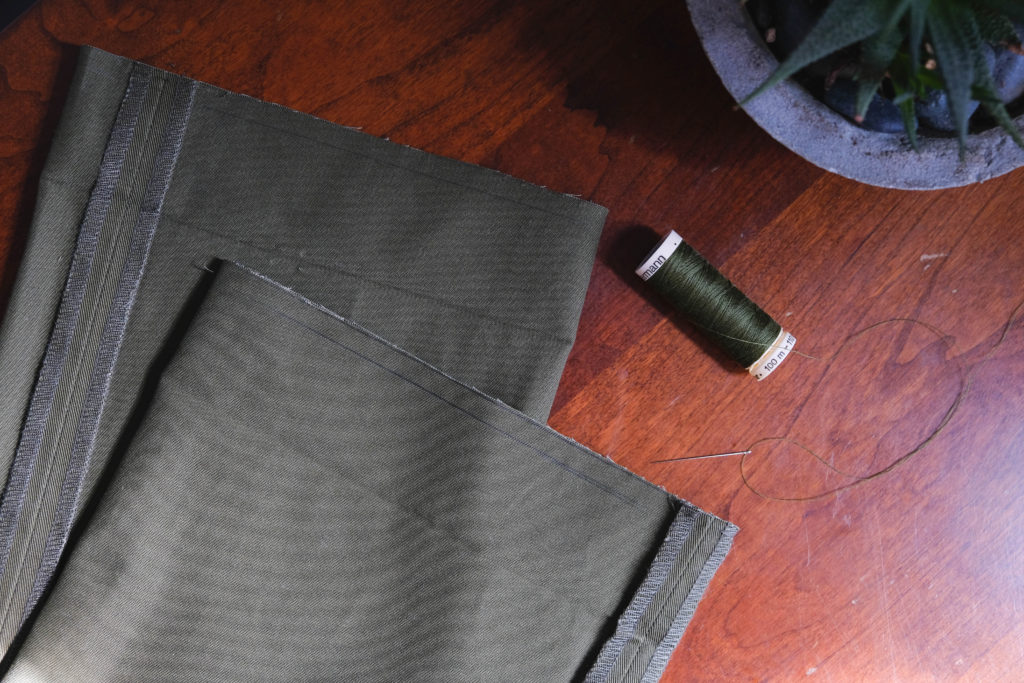
Step 4: Press (again)
Now that we have everything where we need it to be, it’s time to press your pants again. This time, we’ll be pressing at the folded hem (like before) but also folding the seam allowance under. This creates a little “cuff” on the inside of your pant legs. I find it easiest to press the hem first and then the seam allowance second, but do it however works best for you. You may want to throw a few pins in there to make sure that everything stays in place, as well.
Step 5: Sew
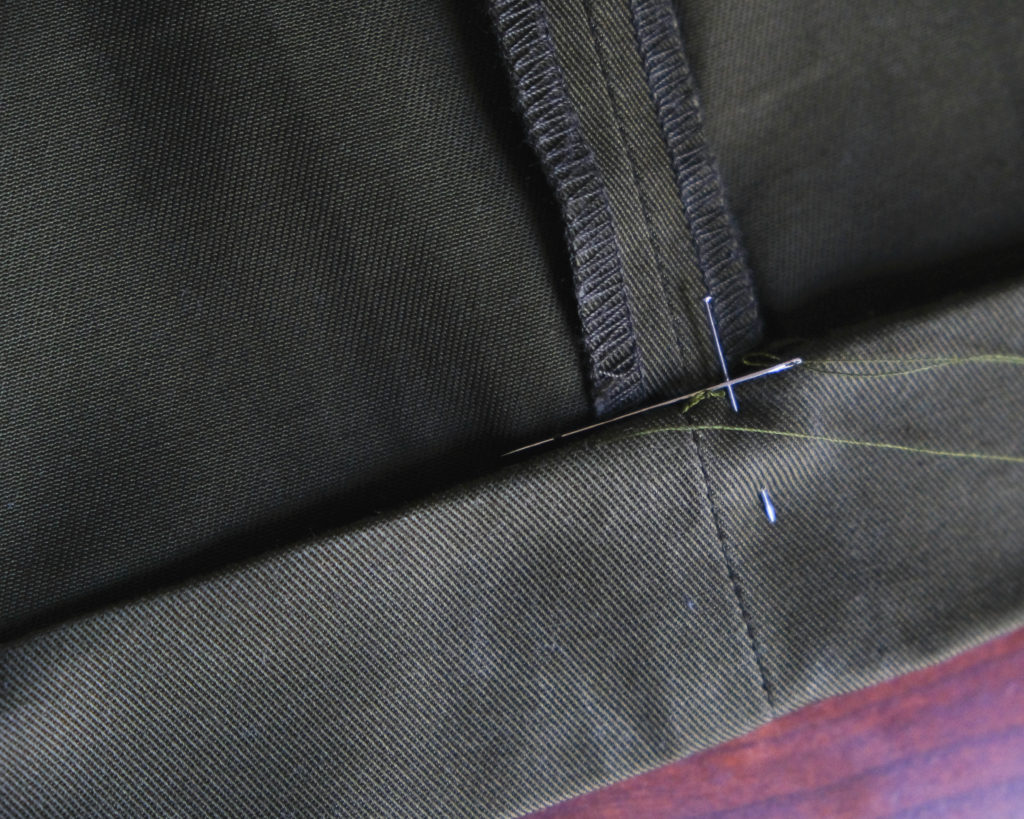
We’ll be using what is called a blind stitch, which is a simple and effective way to close everything up while keeping the thread invisible. The main trick of the blind stitch is to move the needle through the “tunnel” that we created by folding the seam allowance inward. We’ll pass the needle through this fold of fabric, only poking out every now and again to grab just a couple of threads of fabric from the outside.
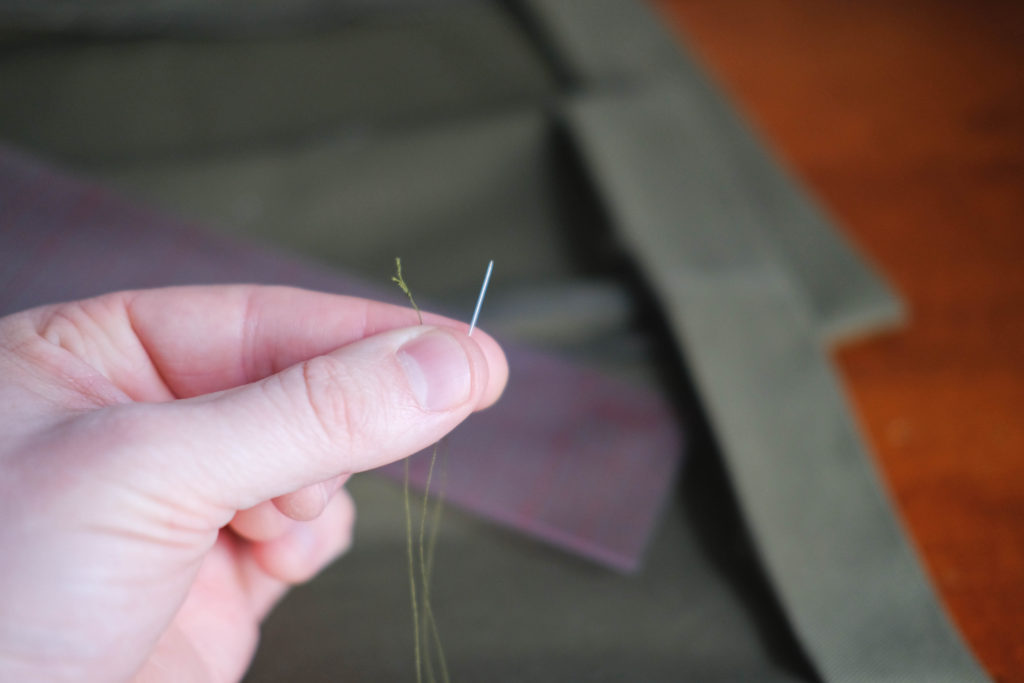
Start by getting around 2 feet of thread and passing it through your needle. Knot only one end of the fabric with your choice of knot (I do it like this, as shown in step 2). Now you’re ready to start sewing. I would plan on starting at the inseam, since you can easily hide your knot in the seam allowance (and also this area isn’t really easy to see so it’s ok if you mess up a bit).
It difficult to describe this process since most of it happens behind the fabric, but this blog has some good images and explains the process well. Once you see what’s going on, it’s quite simple. Just make sure that your outward stitches only grab the tiniest amount of fabric. We’re talking like 2-3 threads from your pants. This is the only part of your work that will be visible from the outside, so the neater you can be the better it will look. Once you’ve grabbed a couple of threads, you can head right back into the tunnel and head towards your next stitch.
On that note, I find that putting a stitch about every 1/2″ is sufficient. You can do them every 1/4″ if you’d like, but this isn’t a high-tension area so it doesn’t need much to stay together. You could use a ruler to make sure that they’re perfectly even, but I just use my pinky finger (about 1/2″ across) to check the distance. After all, if your stitches are good then you won’t be able to see them anyway. Pull your stitches snug but don’t yank them too hard – if you pull too much then the area will pucker.
Step 6: Press (again) and put them on.
Once you’ve finished both sides, turn them right-side out and admire your work. Great job! You’re your own tailor now. Take the $20 you just saved and go spend it on another pair of pants.
&media=https://fromsqualortoballer.com/wp-content/uploads/2019/10/DSCF7073-1024x819.jpg)