My recent upgrade to a new and improved blogging platform has been great in many ways, but one of them was rather unexpected. In flipping all my articles over to a new site, I was forced to revisit all of my old content – this trip down memory lane was quite fun, and reminded me of how […]
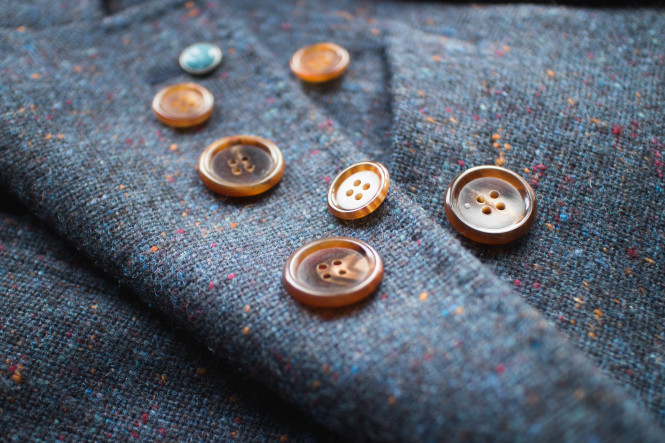
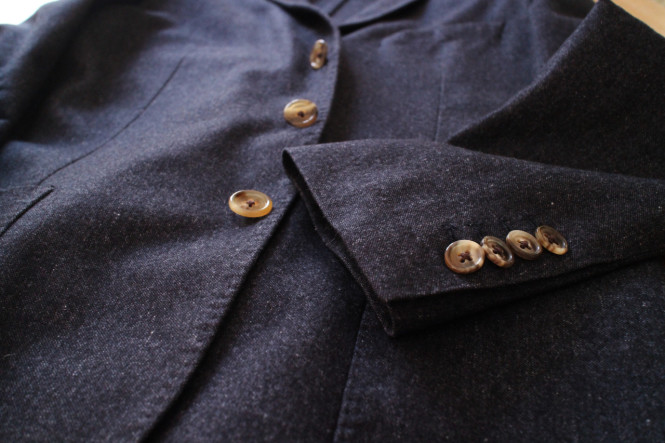
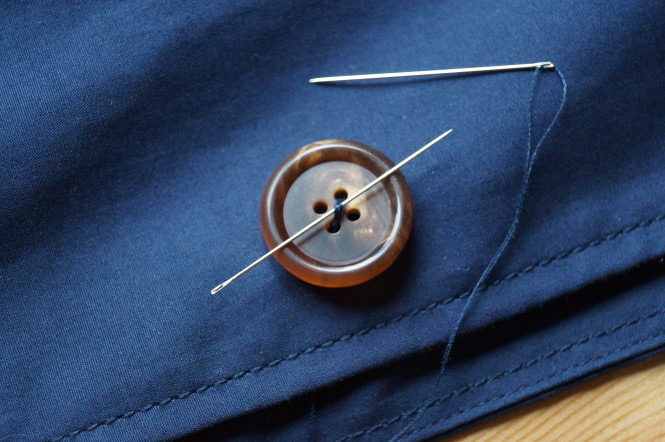
Sew Many Buttons
&media=https://fromsqualortoballer.com/wp-content/uploads/2013/01/2013.01.06-074-1024x680.jpg)